
What a beautiful day! I've got the radio on and am listening to the tennis.
Today I want to share lots of photos of how I made my 1st album. I watched many videos and looked at lots but then kind of went with my own ideas once I knew how. So I started with 6 paper bags, the nice strong white ones that originally had handles. I stuck 2 together by attaching the bottoms of the bags with strong glue. Doing this made me three sections. Easier to see so here's the pics -


The bottoms are folded flat and stuck together so you have four sides, a main spine and then another flap between the bags.


Once dry I started to decorate the 'pages' which are both sides of each bag. I like the idea of keeping the bag unstuck so that things can be stored/kept in there.
The beauty of using 12 x 12 papers is that you have enough to decorate the whole album. I used a set of 16 double sided papers from the 'Take a note' Studio Calico range. Fab papers that are fairly neutral so the album can be used for most things.
I wanted to add tags to the inner spines that are between the bags so I covered them and then stuck them in too.


I stuck 2 tags back to back sandwiching the spine between them.
Once all dry I used my Cinch machine to bind them all together including 2 pieces of Centura card as a front and back covers. Both decorated with papers from the set. So now it looks like this -

I then started to decorate the album, I will share a few pics of this but no more as I've decided to give this as a gift so won't share the totally finished album until the recipient has received it!
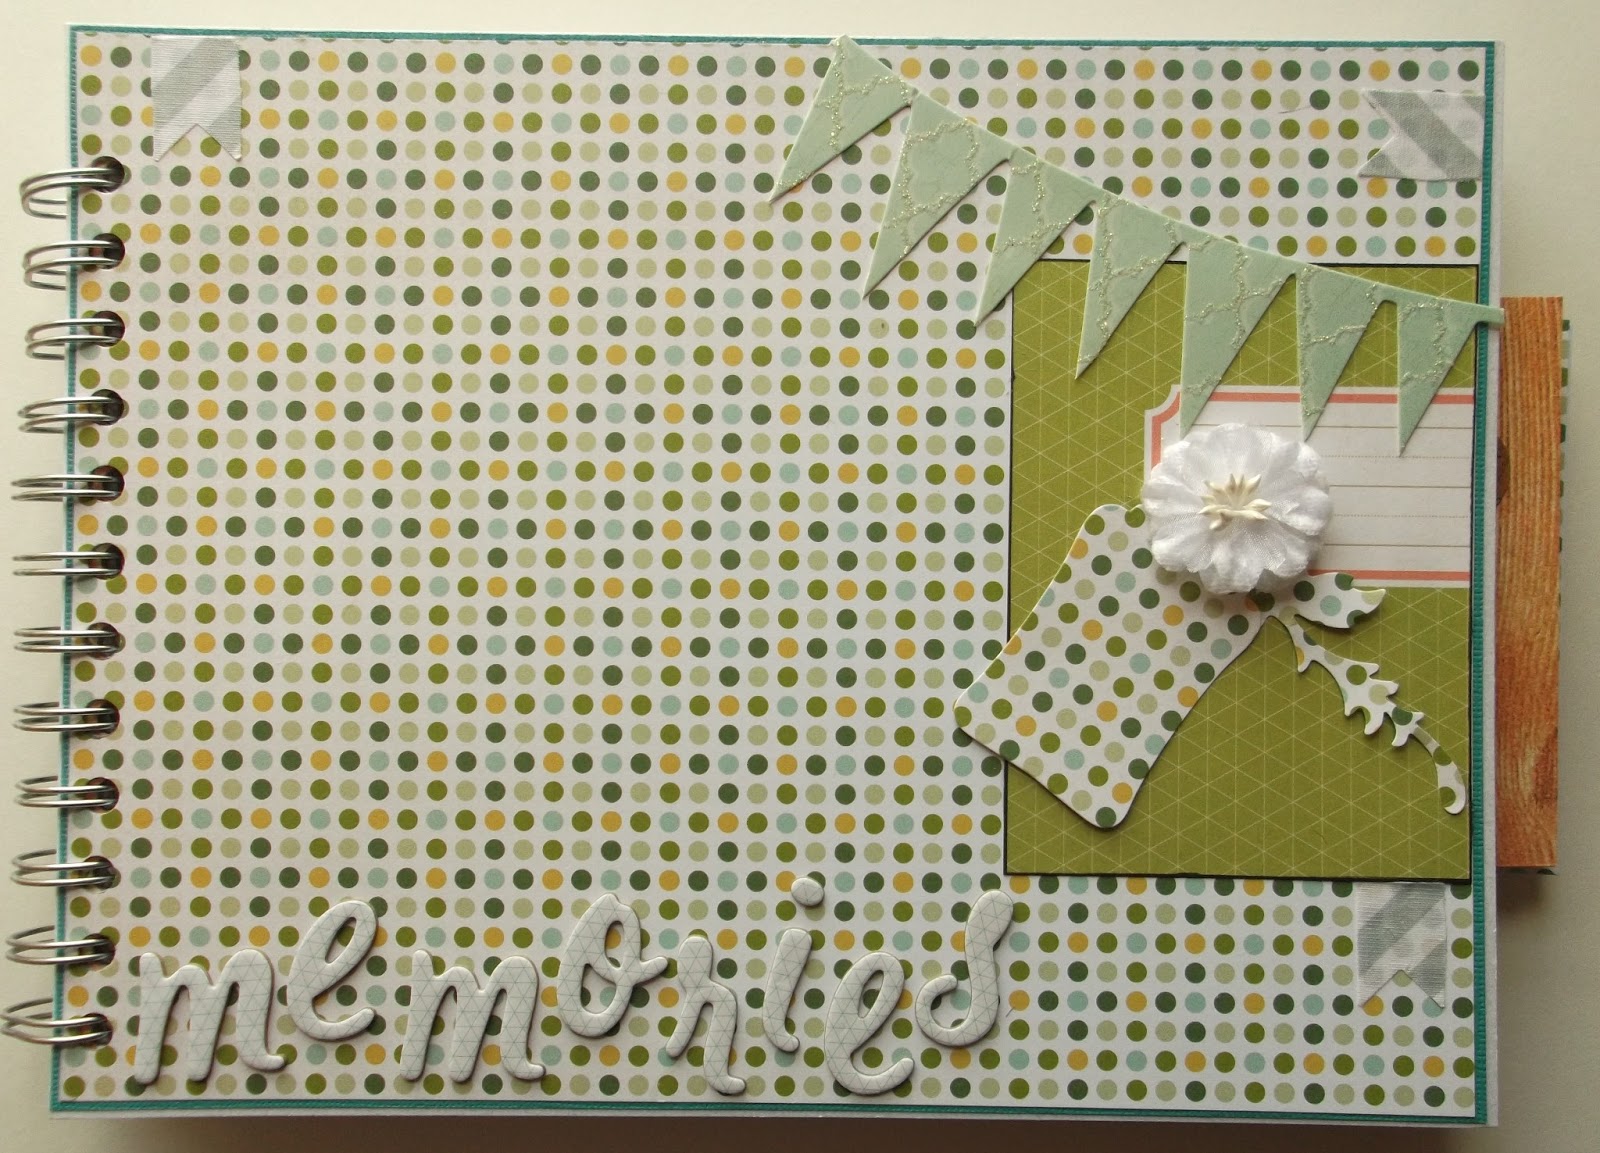
I added Thickers 'Memories' & a few die cuts to the front.


Excuse my fingers but this shows how much space there is in the bag for keepsakes. When I bound it I allowed extra space for this.


I added a few die cut mats throughout too. I will be adding other things to this album but want to keep that secret for now!
So there you go, my first album, I really enjoyed making it and can see me collecting bags and making many more. I will add extra pockets and envelopes the more confident I get. I will definitely make a Christmas one this year!!
Let me know what you think!!
Take care Zo xx
6 comments:
Wow Zo you are so clever such a beautiful project. Love Alison xx
Way to go Zoe. Fabulous album. Love the papers you have used. I am so impressed and glad to have been a lickle inspiration along the way for you.
Looking forward to see what else you do to this.
Hugs
xx
Oh I love this idea, it looks fabulous!
kyla
Love, love, love this! Fab idea and done with your usual fantastic flair! Loving the papers, tags and accents :0) Maybe you'll have to teach me how to do one - but I've got embossing folders to play with at the mo, which is all your fault, tee hee! Glad you're enjoying the process xxx
This is fascinating Zo and you are so clever for working it all out. I can't wait to see what you are going to do with it.
Dionne x
Oh very cool!
Post a Comment