Pages

When you make a conscious choice to be happy, no one can take it away from you because no one gave it to you: you gave it to yourself.

A quote from April Green's - Bloom For Yourself Journal

Saturday 27 August 2016

My Way - Go To Products part two

So I'm back to share the rest of the look I started to share with you earlier in the week. We ended with this - 
 So let's see how I did my eyes.
 I always use Benefit Lemon Aid as a base. This hides any redness and other blemishes on eye lid area.

 I've recently bought this Morphe palette. It is fabulous. Full of decent size pans with matte and shimmer powders. It's the 35T palette - Taupes. I basically choose light, medium and dark shades. I start with the light to cover my lid and up towards my brow bone. Then I build up medium, but I don't take it as far then I add the dark shade to my outer corner on my eye lid and in the cease. This helps to make my eyes look larger and to create more depth as I have hooded eyes as my eyelids partially disappear. It is very important to take the time to blend your shadows to make sure there's no harsh lines.

Now to get my eyeliner on point I use this trick.
Washi tape. Yes crafters I use Washi tape. It's really good for this as it's sticky, but not too sticky that it takes off my foundation. You can use any tape, but may need to stick it on back of your hand to take away some of the tackiness.
 All done -  coat of mascara to finish off the eyes. I do have false eyelashes but decided to keep them for another day.

 Spot of lippy and I'm done.

The last few photos are not as bright as last post's pics as it took me ages to create this look and it was gone teatime by the time I finished!! 

I don't have any proper lighting just some LEDs around my mirror.
Hope you like this look.
Take care Zo xx

Monday 22 August 2016

My way. A lesson learned & go to products. Part One.

I've been having fun trying out different make up looks. Having watched 100's of tutorials from Make up Artists and Youtube celebrities like Jaclyn Hill and MannyMUA. I created a list of some products I'd like to try.

I stupidly in my excitement ordered from Amazon without reading the reviews. It was only after feeling disappointed I wasn't getting the same results & seeing for myself that the product wasn't as I expected that I investigated. I'd purchased fakes.

The two products I bought were the Beauty Blender and Anastastia Beverly Hills Contour kit.

Both looked real, but now that I have the genuine product the differences are obvious. Gutted. So from now on I will buy from CultBeauty and BeautyBay both suppliers in the UK.

A lesson learned - my advice only buy from reputable suppliers.

So during one practise I took photos of what I was using as I thought I'd show you. I do have lights around my mirror and I do know some of the products I use are HD which means literally the light bounces off and it helps to create a flawless look. 

Basically I probably look more flawless in the photos than in real life. Though it's only when you get close up that you can see my fine lines!! But to be fair these products are used in a professional manner and are meant to do this.

Here goes - 
So this is me - no make up. I always moisturise and use eye cream. I let it settle for a couple of minutes.
 My fake & real Beauty Blender. The real one is huge in comparison and it expands when you wet it. I use it damp as it helps to blend well.
 Primer - from Avon - it's smooth, has a nice feel and my make up goes on better.
 I then use Clarins instant light base.
My foundation - BareMinerals - this is new. It's so easy to blend, lightweight & doesn't cake or clog. 
These 3 products cover well and yet feel as if I don't have layers on.
Next I conceal.
 Urban Decay weightless concealer. I probably need a shade lighter but I use this to cover first.
 Then I use my Clinque concealer especially under my eyes on top of the Urban Decay concealer as this one brightens.
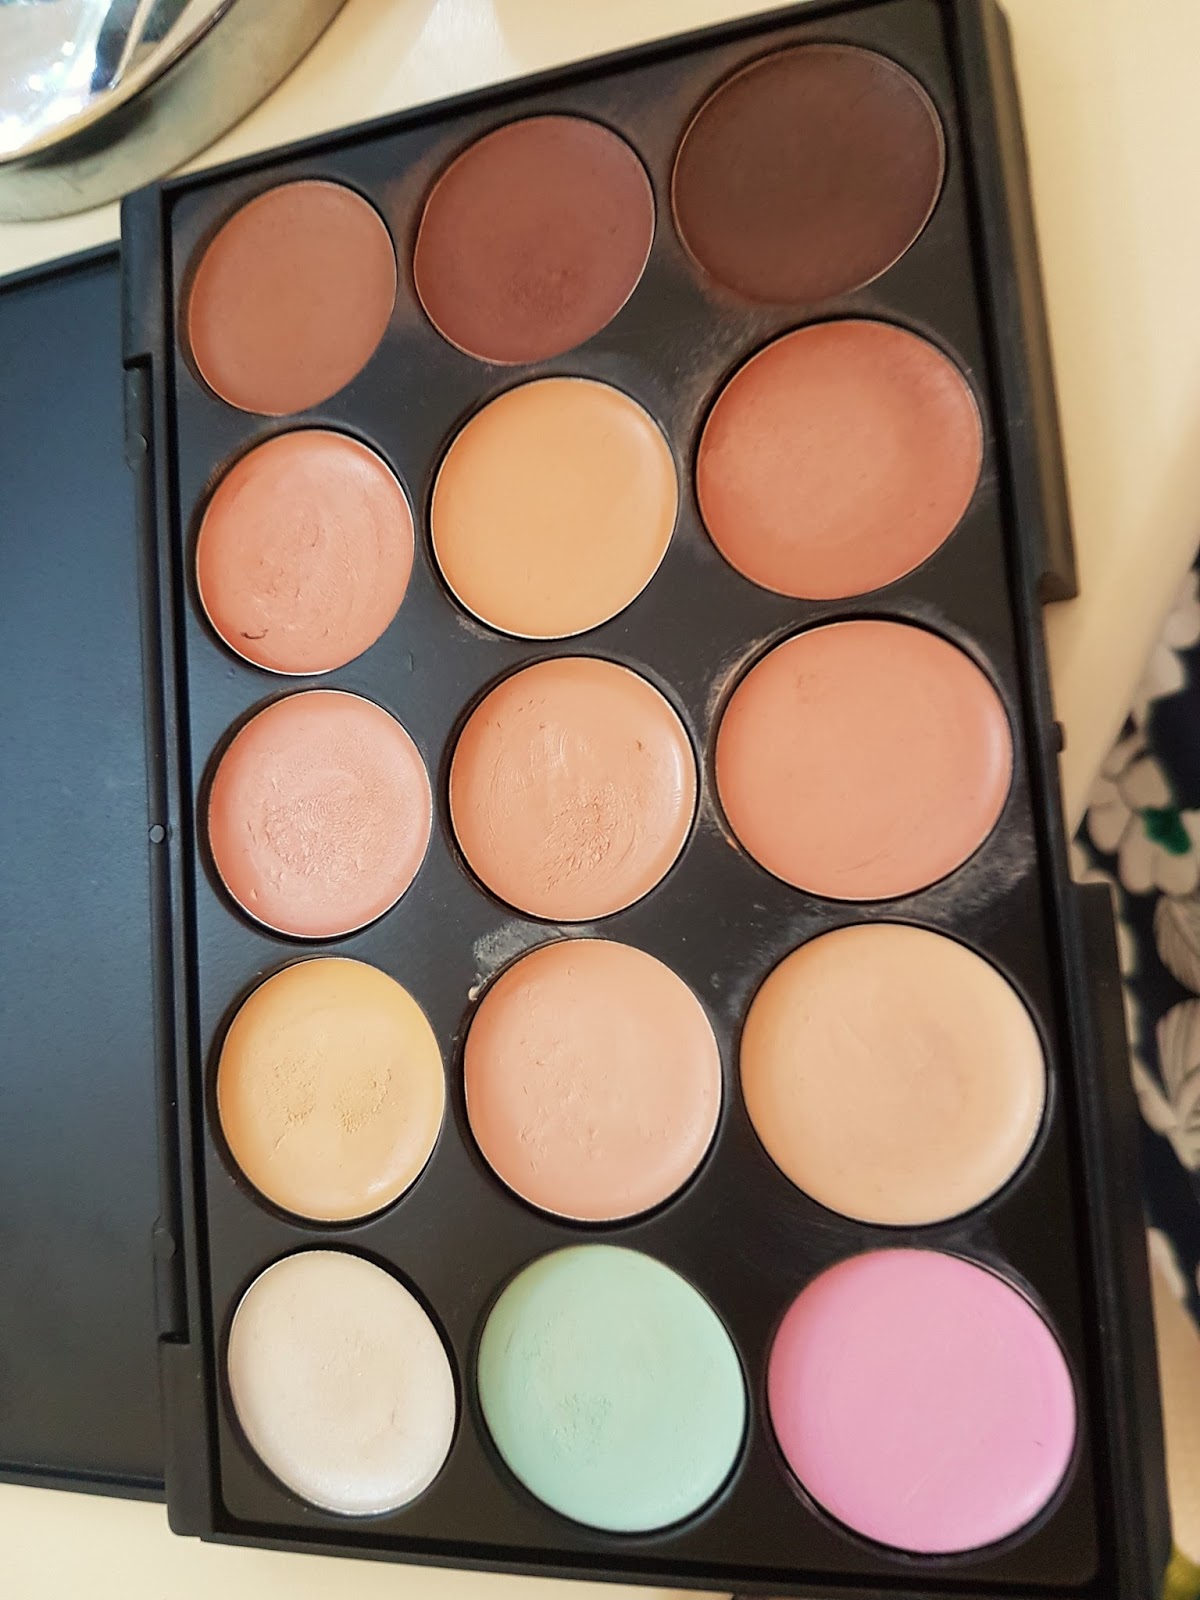
 I also colour correct. I use the orangey shade over areas that are blueish. The green/yellows help with redness. I only use these lightly as they can cake if you use too thick. I always go over the areas I put these with my Beauty Blender.
 Daft photo!
So here I am - all concealed and covered. I do look very fair here as I've covered any colour. 
Now I set my base using Laura Mercier transluscent powder.
 To put the colour back I use bronzer and I use Anastastia Contour Kit (this is actually the fake one. Real one only arrived today) Anywhere where shadow should be and areas I want to add shape I use the different powders to contour and highlight. 
 As you have seen I have very fair eyebrows so I have to fill them in using a combination of No 7 eyebrow pencil to create the shape then I fill in with Urban Decay powders and set it with Benefit eyebrow gel
 I add some blush to my cheeks as well.
Still looks a bit weird with the bright eyes, but at least there's a bit more colour and I have eyebrows (they are darker in real life)!

Okay I think this is more than enough for one day. Come back later in the week to see how I finish the look.

Take care Zo x


Saturday 13 August 2016

Being me - make up my way with a little help!

Okay so ages ago I said I was going to move this blog away from just crafting. I want it to reflect me and all the things I love.

I guess people often see me as a bit of a tom-boy what with my love of footy, but I've got quite a girly girl in me really. I've always loved make up and have worn it for years. Up until recently, I wouldn't leave the house without a full face on. I prefer a more natural look in the day, but I can assure you even that involved many layers!

Being disabled makes it harder for me to apply my make up as my conditions affect my hands and my grip. I've had to adjust how I do things. So I thought I would share my experience with you guys. I was encouraged to do so by a lovely friend, Aimee, who I met through our mutual love of Bristol Rovers. 

I bought a dressing table last year with my 40th birthday money and wanted to use it properly. I was fed up of having to get my make up out of drawers and, before buying this dressing table I had no where to sit to do my make up. To display everything in a tidy manner I bought these storage units on Amazon along with some LED lights & a smaller mirror. Everything is just there. Ready.
Another thing I've had to overcome is using my brushes. Most have chunky handles which I can manage to hold, but some I can't. So I use foam tubing which I bought on Complete Care shop
this site has many aids - I've bought a few and wouldn't be without them.
The tubing slides onto the handle. Now I can hold my brushes easily. The pink sponge is a Beauty Blender - again I can hold this and use without it hurting my hands. I'm not quite sure how it works but believe me it makes blending foundations and concealers so much easier & quicker.

The other day I spent a while playing with my make up -  I actually had great fun. I was sat comfortably, everything was easy to use & I could put my face on without my hands hurting. I even attempted to put some false lashes on!

I sent Aimee the before and after photos. She was so supportive and encouraging. Her kind words made me feel amazing. Aimee suggested I post my pics to Instagram. It took me a few hours to pluck up the courage, but I did and have received many compliments. 
That's when I decided to write this post as well.
Here you go - 
Those who know me will note the lack of glasses and that my hair is swept off my face - necessary steps for applying make up!


 I look so different. It's not so perfect, but it doesn't matter as make up has a way of making you feel amazing. It gives you confidence. While I could never manage to do this full look with false lashes everyday - it took me quite a while you see - I can recreate it whenever I feel like it.

I've so many ideas I want to do - I guess it's really just another creative and artistic path to try!

I look forward to sharing some of them with you. 
Take care Zo xx


Wednesday 10 August 2016

WOYWW 375 - It's a dog's life.

Happy desk day! 

Yes I'm back to share my desk as per everyone over at The Stamping Ground for WOYWW

My desk is a bit bizarre to day - 
 The right side is a bit messy. Under that pink paper is my parent's anniversary card. The pink paper is what I'm going to use to make an envelope. There's stuff. Stuff on top of stuff. Need to tidy it up.
So the window side is unusual. I bought this game for Baxter ages ago and we had fun - he has to move the thingies and find the treats. So I got it out again. So far he's found a couple of treats but I reckon he feels it's a bit hard work for now and has gone to sleep!

So that's me - short and sweet - much like me really!!
Take care Zo xx

Wednesday 3 August 2016

WOYWW 374 - new stash!

Morning!

I'm back to link up with Julia and all other desk sharing people to well..share my desk!

 So far right - those are my new stamps on top the typewriter - Tim Holtz Crazy Dogs!
 Right side - that box has my stencils in. I've created coloured backgrounds with my new Distress crayons and have created a scene. Zoom in and you can see the Paris one.
Window side - WIP. I've stamped Crazy Dogs onto the backgrounds and am cutting them out.
A closer look.

So that's me. Oh before I go here's the finished image that you saw I started last week. It's May's lesson from Kit and Clowders marker classes.
Took me 3 days to finish. Loved doing this. The photo doesn't do it justice to be honest. Not sure what I'm going to do with it.  May do a giveaway. Hmmm we'll see.

Take care Zo xx